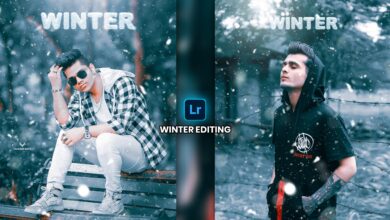
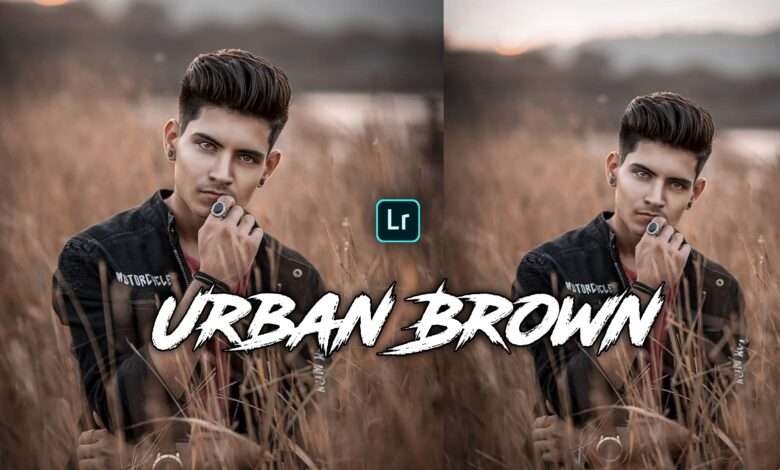
So guy’s today I am going to give you Urban Brown Tone Presets, these are very good and professional type Presets, in which you will get to see the effect of urban Brown tone type.urban Brown Tone Photo Editing
How To Use Lightroom Full Tutorial:-
So guys, to use Presets, first of all you have to download the presets from our website, after that you have to download the Lightroom app from playstore, after that you have to add kr to your presets what was the download. To use the presets, 3 dots are visible in the right side, there you have to copy setting, after that you have to import the photo on which you want the effect in lightroom, then in the same way go to 3 dots and paste setting. Have to do it and brown tone effect will come on your photo.
Urban Brown Tone Photo Editing:-
You can do this kind of editing very easily in your mobile that too through lightroom app, first you have to download lightroom app from playstore, after that you have to import your photo inside lightroom app. After that, first of all you have to adjust the lighting in your photo, in which the contrast has to be made +50 and after that the highlights have to be +23 and the shadows have to be +53 then the whites have to be +80 and then in the last the blacks have to be +60. You can also adjust it according to your photo, it is not necessary that the same setting should be applied in your photo too.


How To edit Photo In Lightroom
Now after this you have to adjust the color in your photo because the most important thing in your photo is to adjust the lighting, then first you have to go to the color option, then keep the Vibrance +51, after that you have to Mix You have to go to the tools, after that you will get to see many colors here but you do not have to be confused, here you will get to see 8 colors. So here first you have to make the hue of red color -14 and saturation to -50 and light to -14, then after that you have to make the hue of orange color -10 and saturation of -23 light to +24 then After that comes our Yellow color whose hue has to be reduced to -100 and saturation to – 31 and the light to +27, after that comes the Green color whose hue has to be reduced to -99 and saturation to -100, after that the rest The remaining color does not have to do anything, after adjusting the color, the saturation has to be reduced to 10, here our color also gets adjusted.
How to use Presets In Lightroom/picsart/snapseed:-
After doing this, you have to adjust the effect in your photo, first you have to make clarity to +60, dehaze to +20, vignette to – 10, midpoint -50, feather -50, after that you have to make noise reduction options. Here you have to add details to your photo, first of all you have to make the sharpening +20 radius to 1.00 detail to 25, after that you have to increase the noise to 35 to increase the smoothness in your photo, if you want. You can also adjust it according to your photo, here your photo gets edited completely.
How To use Lightroom:-
This is a color grading app that you can easily download on play store, you can also edit row photo, in this you can easily make your photo very good by color grading in any photo, it is a mobile app. It is very good professional editing application which is available for free for all on play store so that you can use it to make your photo next level.