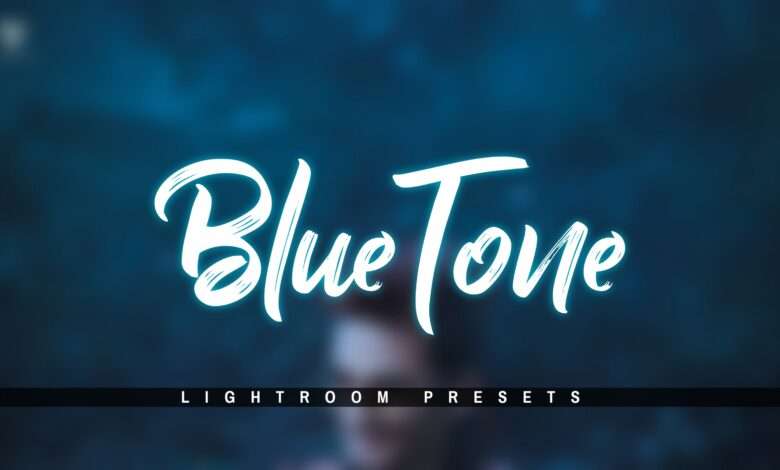
Hey guys how are you guys guys today i am going to give you moody dark blue presets which is very interesting and popular presents so this is a blue type presets which are more dark and looks very nice to see if you If you use it on your photo then your photo will look very nice and professional and it is a mody blue type presets which is quite popular and you can easily use it on your photo via lightroom if you guys If you want to learn this kind of color grading, then go ahead.Blue Tone Photo Editing,Blue Tone.
Step 1- To do photo editing in PicsArt, you have to simply download PicsArt from the Play Store and here you will get very good photo editing tools that you can change the background and you are very Nice png can easily add on your photo below and you can edit your photo very well, here you can also do manipulation editing very easily, the kind of photo you make in pc, that kind of photo You can also make your pics art inside your mobile
Blue Tone Photo Editing Lightroom:-
Step 2- To use this presets first of all you have to download lightroom application in your mobile from play store and after that you can use it easily if you don’t know how to use presets then you can subscribe my youtube channel ( SAHA SOCIAL) there I have told you how you can use PRESETS in Lightroom app, if there is any problem in using your Presets, then I have made a video on that also you on our channel. You can also go and see it and after that you can easily use your presets.
Snapseed Photo Editing:-
Step3- So first of all you have to import your photo inside the light room and there you have to go to the color option and by clicking on the mix toll there you will get to see many colors there but you do not have to panic. First of all, except the two colors you are seeing, all the other colors are there, then there is a total of 8 colors but you have to leave two and the remaining six colors have to be reduced to minus the saturation absolutely and you have to The remaining two colors are the color of your face, so you have to adjust it accordingly.
Blue Tone Lightroom presets:-
Step 4- After that guys you have to add effect to your photo like sharping, clarity, dehaze, noise reduction because guys if you don’t add them then your photo quality will not be correct so you have to add effect on your photo also And after adding the effect, you also have to adjust the lighting according to your photo, which is good to see your photo later, right here after adjusting the effect and lighting, you have to go to the color option again and There you will see an option next to the mix tool, click on it and there you will see many colors in the round circle but I will keep you blue color and you can keep blue according to your photo. And after that you can adjust the blending and adjust according to your photo and put blue tone, then there our photo will come in full moody dark blue tone and will be edited in dark blue type.

Snapseed and Picsart Photo Editing:-

Similarly, you can put mody dark blue tone in any photo and you can put any tone you want and you will get the link below to download the presets, you can go and download it easily and use on your photo. If you can, to use the presets, you have to import the presets in the Lightroom application app and copy the setting of that, you have to open the tone on which you want to put and then paste the setting there. And body dark blue tone will come on your photo easily.